Hey there, DIY enthusiasts! Jill MacDonald here and I’m thrilled to share my latest renovation project with you. This time, I tackled the downstairs bathroom, and boy was it a ride! From measuring twice and cutting once to hammering out the details, I’ve got all the puns and dusty details to share.
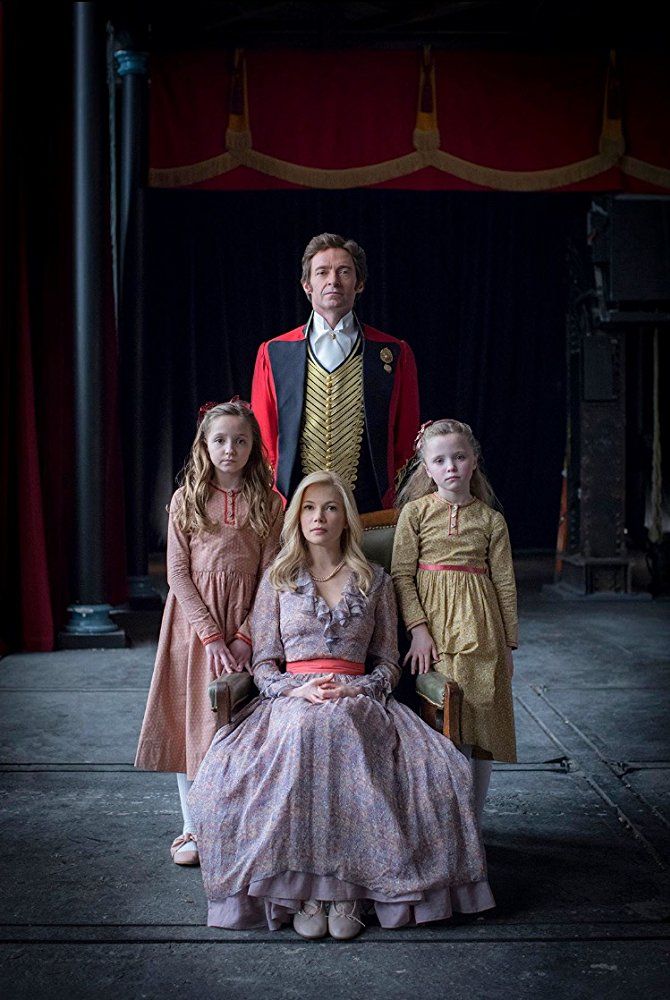
At the beginning of this course, I shared the process of hanging a mirror in my main floor bathroom on Twitter. I casually mentioned I was on a HGTV show called “Home to Win” in 2016 and figured this would be the opportunity to elaborate on that experience and how it helped me with the renovation.
I landed on the show after submitting an overly emotional video a few days after being evacuated due to the Horse River wildfire. Never in a million years did I expect to be selected and the experience was certainly full of highs and lows. I was hoping I could share my video summary package but alas, it’s been removed. This show promo will have to do.
I’d like to think that my experience on Home to Win has helped me in more ways than just getting better at home improvement tasks. I learned how to work under pressure and how to make quick decisions when things don’t go as planned. And if there’s one thing I’ve learned from renovating my own home; things NEVER go according to plan. Check out the full episode on Prime (S1, E10) to see how things panned out.
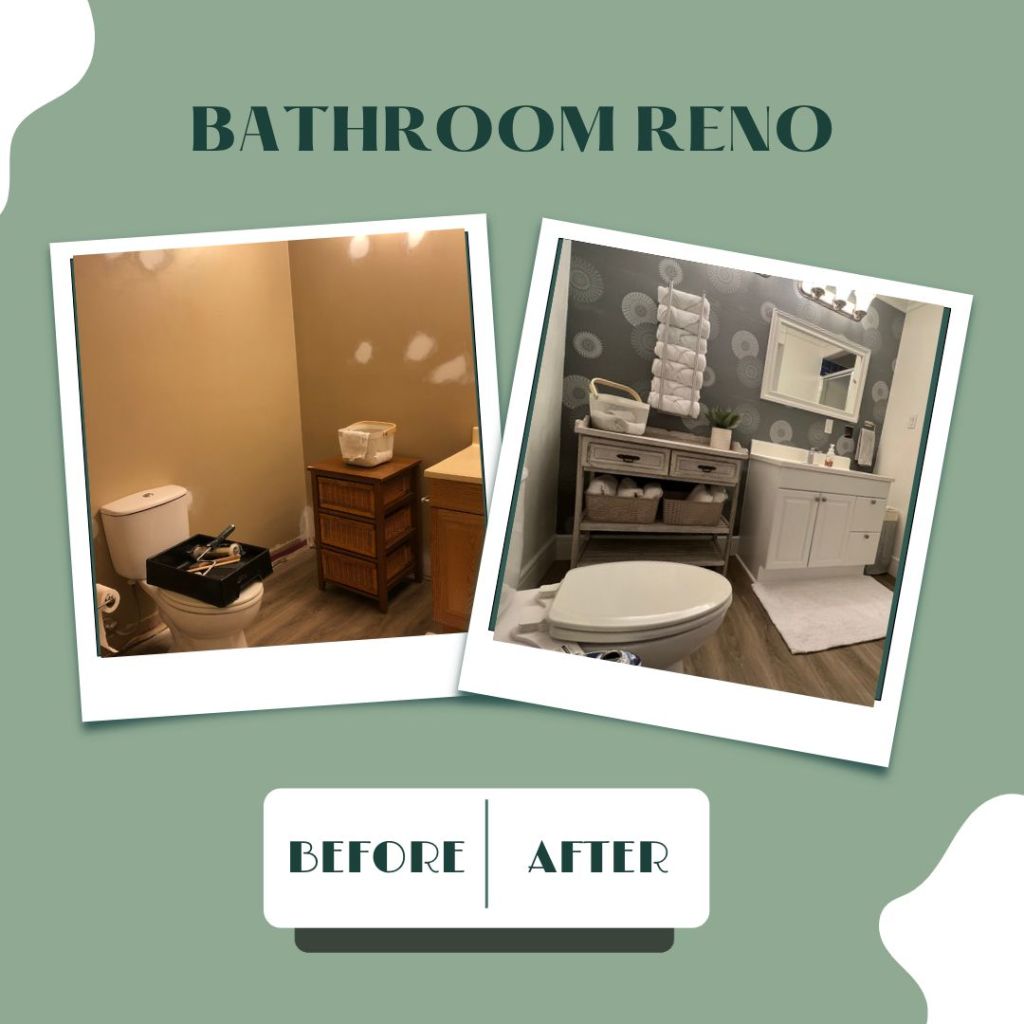
Now onto the renovation at hand. The downstairs bathroom. *insert dark ominous tones* DUH-DUH-DUHHHH
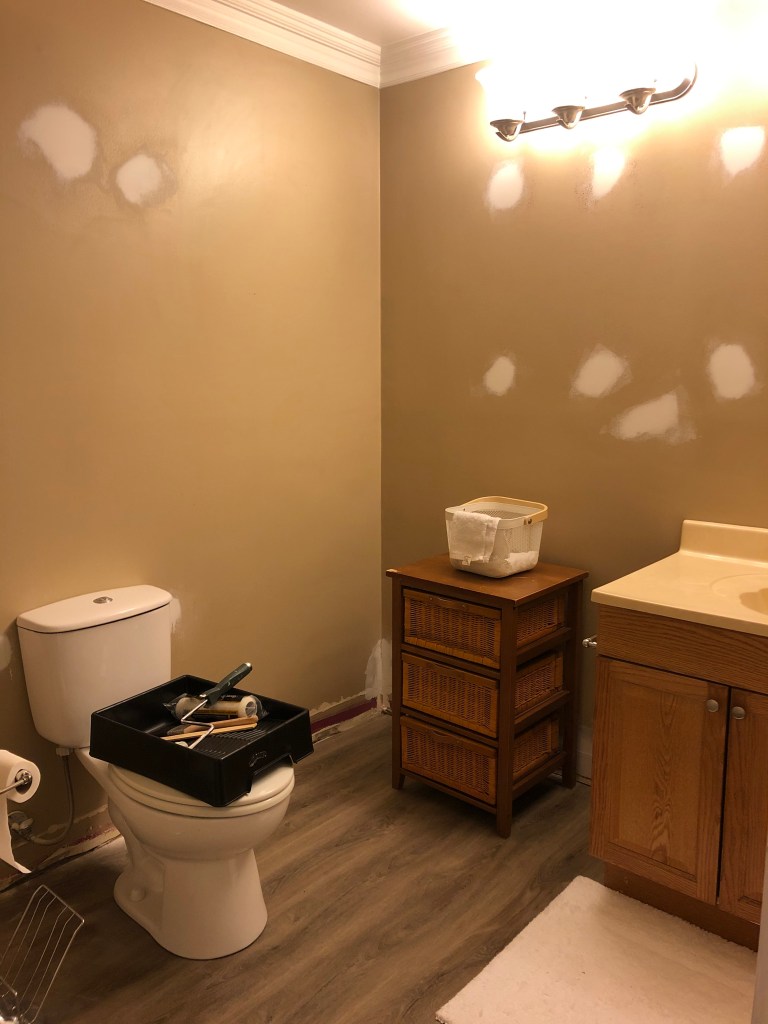
First things first, I knew this bathroom needed a facelift. It was just begging for some TLC, and I was more than happy to oblige. So, I put on my tool belt, grabbed my measuring tape, and got to work. I knew this was going to be a long journey, but I was ready to plunge in! The first step, of course, was coming up with a plan. I put my creative mind to work, brainstorming ways to make this bathroom pop. When I finally had a vision, it was time to source all the materials.
I picked out a beautiful wallpaper for an accent wall, a paint color for the vanity, and some funky accessories to help with storage. I couldn’t wait to see how it would all come together. Once I was happy with my direction, it was time to flush the old and welcome in the new. After I cleared everything out of the bathroom it was time to get to work.
First step was to get rid of the sad brown colour. I’m sorry but who would EVER paint their bathroom BROWN? I mean… I know what we all do in there but that’s a little on the nose don’t you think?
After letting the beautiful white walls dry it was finally WALLPAPER TIME! Thankfully my sister is an expert in this area and offered to give me a hand. Knowing that a busy pattern would require WAY more brain power than I was willing to spend on this project, I opted for one that was going to be easy to line up. #winning
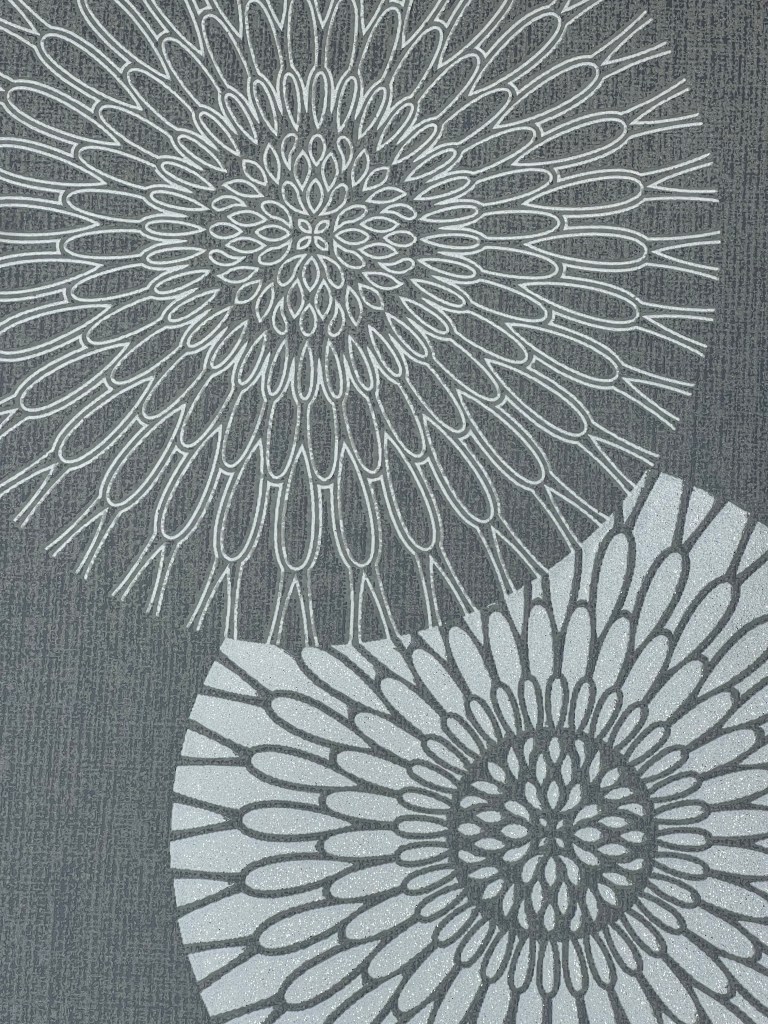
Two sets of hands meant this part of the project went quickly. I can’t stress that enough! If you plan on hanging drywall, go for an easy pattern, one that is pasted or unpasted and use glue. Peel and stick wallpaper is a NIGHTMARE. If you’ve ever tried to hang it, you’ll understand. The bubbles are so difficult to get out and although you can peel it back and readjust, it’s just not easy to work with.
Once the wallpaper was up it was time to refinish the vanity. Since the wallpaper was a darker grey, I wanted to paint the vanity white so it would pop next to the wall. Three coats of high coverage cabinet paint and we’re starting to get somewhere!

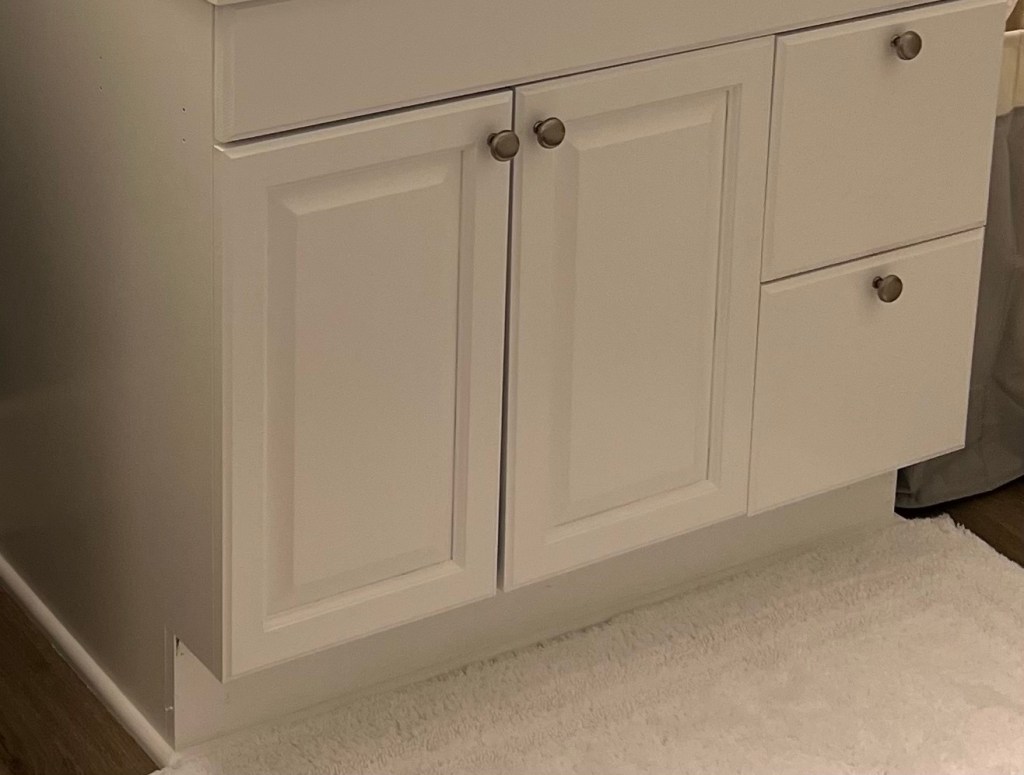
Once the paint had dried and the cabinet doors were re-installed it was time to mount the new vanity and facet. Oh husband? I have a job for you! Goodbye 1980’s vanity top! Not that the 80’s were ALL bad. I mean I graced this planet in 1983 so…
The final large project I had to tackle was caulking and painting the mouldings. This unfortunately is where I ran into problems. The Caulking fiasco can be viewed in all it’s glory HERE . An entire tube of caulking wasted, but we finally got back on track and finished up the space.
At this point I can finally start the finishing touches!
I’m ‘flush’ with happiness now that my bathroom renovation is finished! All in all, this renovation project was a success. I’ve proven that with a little hard work, a dash of creativity, and a healthy dose of humour, any project can turn out beautifully. So, to all you DIY enthusiasts out there, keep hammering away and remember to always measure twice and cut once – it’s a nail-biting experience, but the end result is worth it.