
Videos are a great way to tell a story. With unlimited combinations of graphics, text, video clips, photos, and audio, videos really give users the creative freedom to show a story in every way possible. But how do you create a video anyways? Below I include how I created a movie trailer (you can check it out on Twitter here), however these techniques can be used for any video you are looking to make. Let’s dive in!
First, what platform should you use to make your video? There is really no right answer to this, as different tools all have their own functions that could benefit users in different ways. However, my favourite is Canva. It is a super easy and simple tool to get started in design, including video making. What is great about it is that it’s free, and includes lots of great free graphics, photos, video, and more that you can use! I loved it so much that I even bought the premium version for $150/year (note this may have changed), which gives access to additional features such as easy resizing and even more graphics and footage.
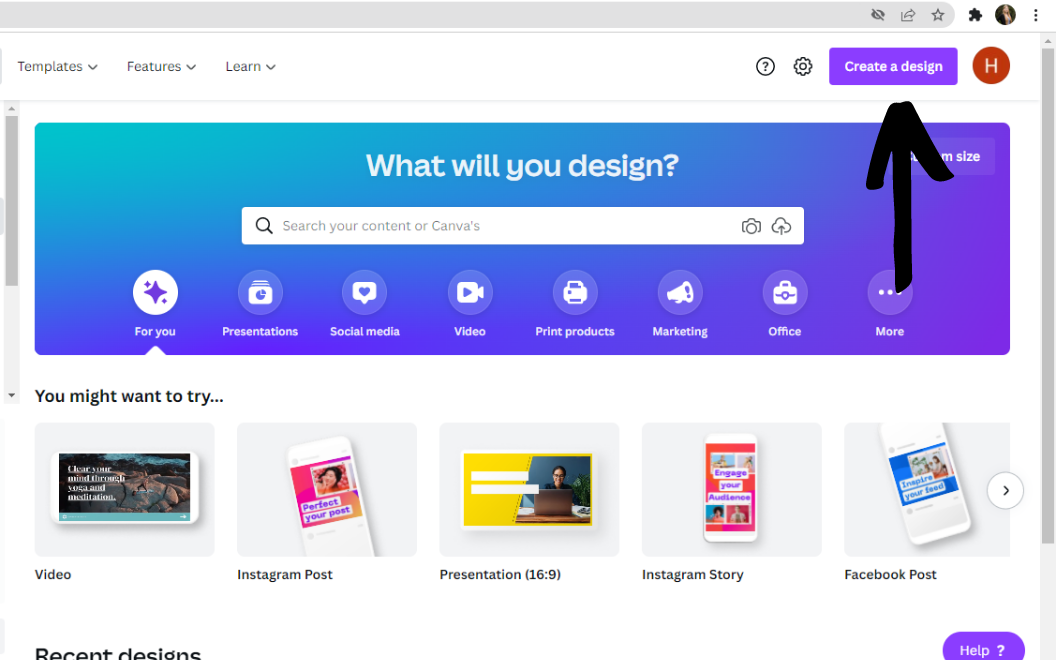
Once you have gone to canva.com, you’ll notice the giant “create a design” button in the top right corner. Click this and choose/search for your creation format (in this case I chose video).
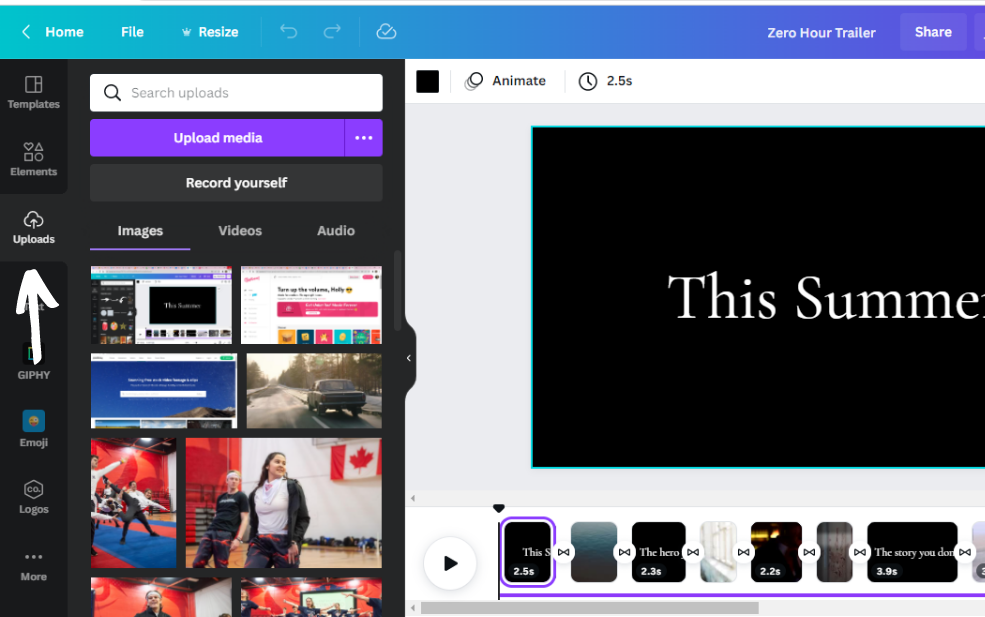
Next you’ll be given a blank video screen. Although I won’t be going through every single feature here, I’m going to highlight a few of the main ones that will allow you to create a video. Likely, you will want to upload some of your own videos, graphics, photos, or music. This can be done with the upload tab on the left hand side. Click “upload media” to chose your file, or drag and drop it in. You can then click on the added media to place it on your video screen.
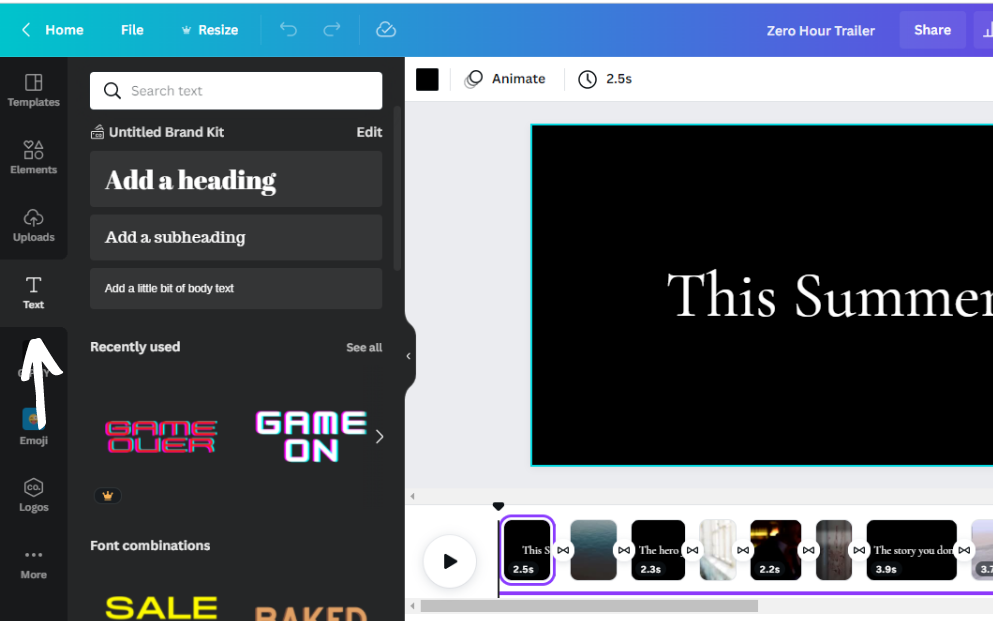
You may want to add some text into your video too, which can be done with the “text” tab. I find it easiest to click “add a heading”, which will add some text to your screen. Then, I adjust the font, colour, and size by clicking on the text, causing these features to appear at the top of the screen.
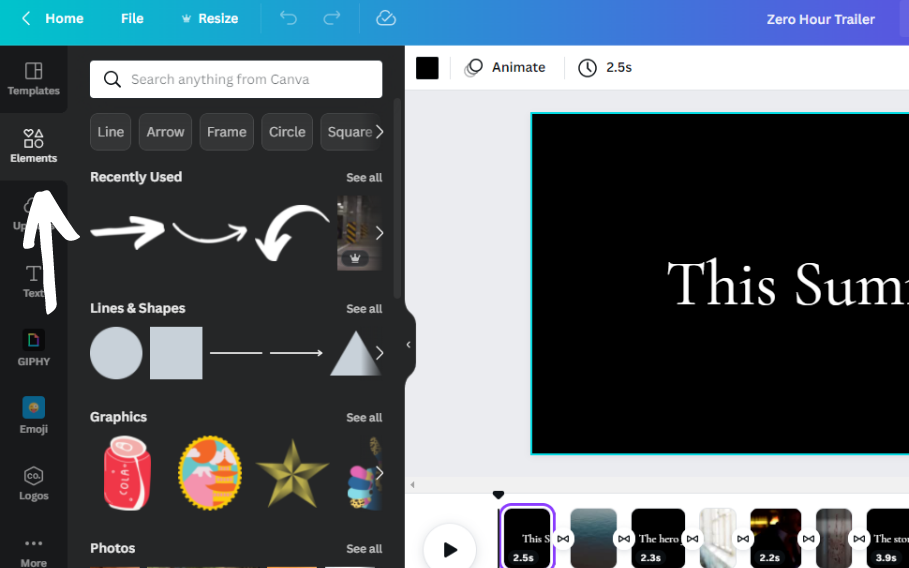
But what if you don’t have graphics/videos/photos/etc. to add and you need some? This is where the amazing “elements” feature comes in. Here you can search for footage, graphics, shapes, frames, and more! Canva is nice as it doesn’t trick you into paying for anything, making it clear which features cost money by placing the premium logo on them.
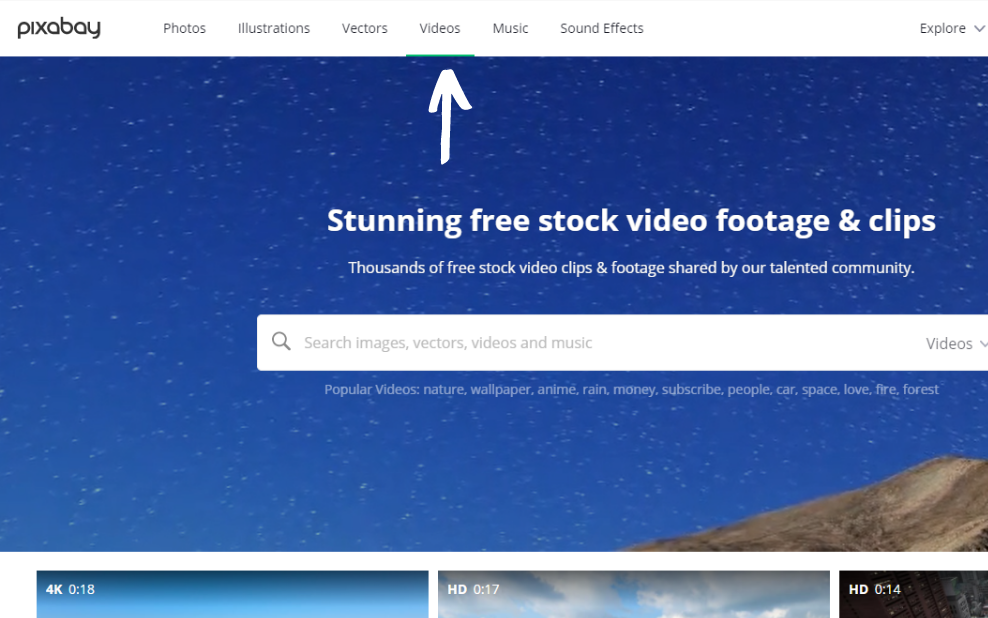
Another great place to look for free images and video is Pixabay, a stock photos website with a decent amount of free content. I used Pixabay to search for video clips as well, although most of mine came from Canva.
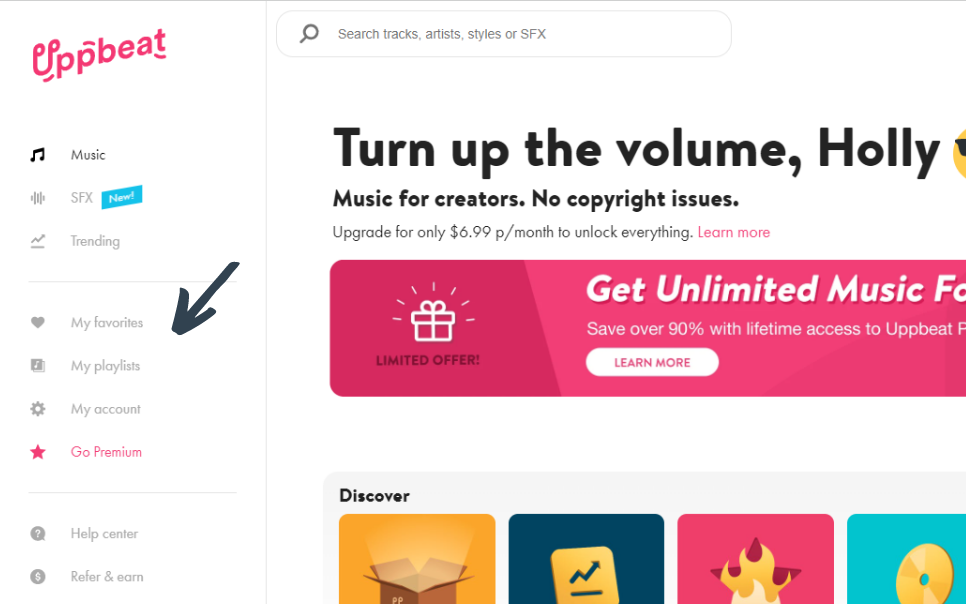
What about music though? Unfortunately, Canva doesn’t supply free sound, but you can access a bunch on Upbeat, a sound service with many unique tracks! One handy feature they have is allowing you to favourite songs. This lets you easily browse for music, save the ones you like, and compare them later!
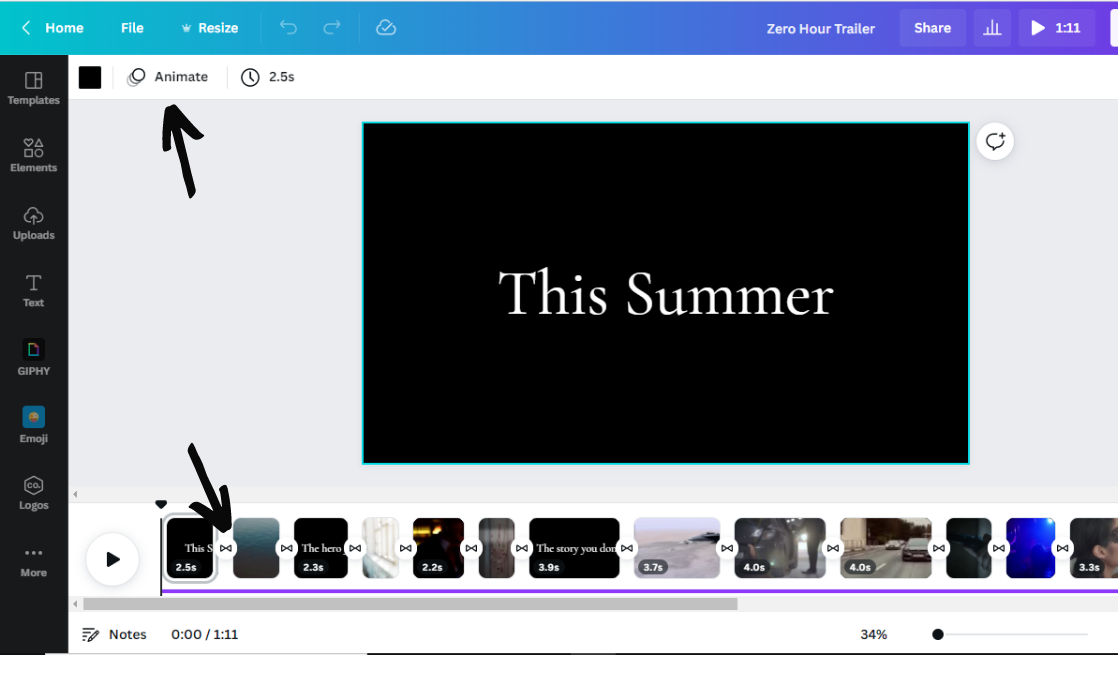
My last video tip is to experiment with animating your images and text, as well as including transitions between your scenes. This really helps the flow of the piece, and can make it more dynamic and less jarring when scenes switch. You’ll notice the “animate feature” on the top of the screen (if it isn’t there try clicking on an element first, such as text or an image). This allows you to adjust how images/graphics/text/etc. appear and disappear. The transition button is the tiny plus sign in-between scenes at the bottom of the page (they look like infinity loops once the transition is added). Once it is clicked you will notice a variety of different transition options to play with! I used fade for my video clips.
And those are my simple tips on how to make a video! I hope you enjoyed and be sure to check out my creation on Twitter to see just what is possible with these few simple tools!
